I’ve been messing around with Apple Shortcuts lately. It’s a weird thing, like most things from Apple that try to make complex things simple. Shortcuts (as we’ll call them) can run on macOS and iPadOS and iOS. (So on a Mac, an iPad, and an iPhone.) Not all shortcuts run on all seamlessly, as they may rely on things that work on one platform but not another.
Here is a Shortcuts User Guide but it’s for iOS (iPhone and iPad) and where’s the macOS guide? And try searching for “Apple Shortcuts” and you get plenty of results about keyboard shortcuts. Sigh…
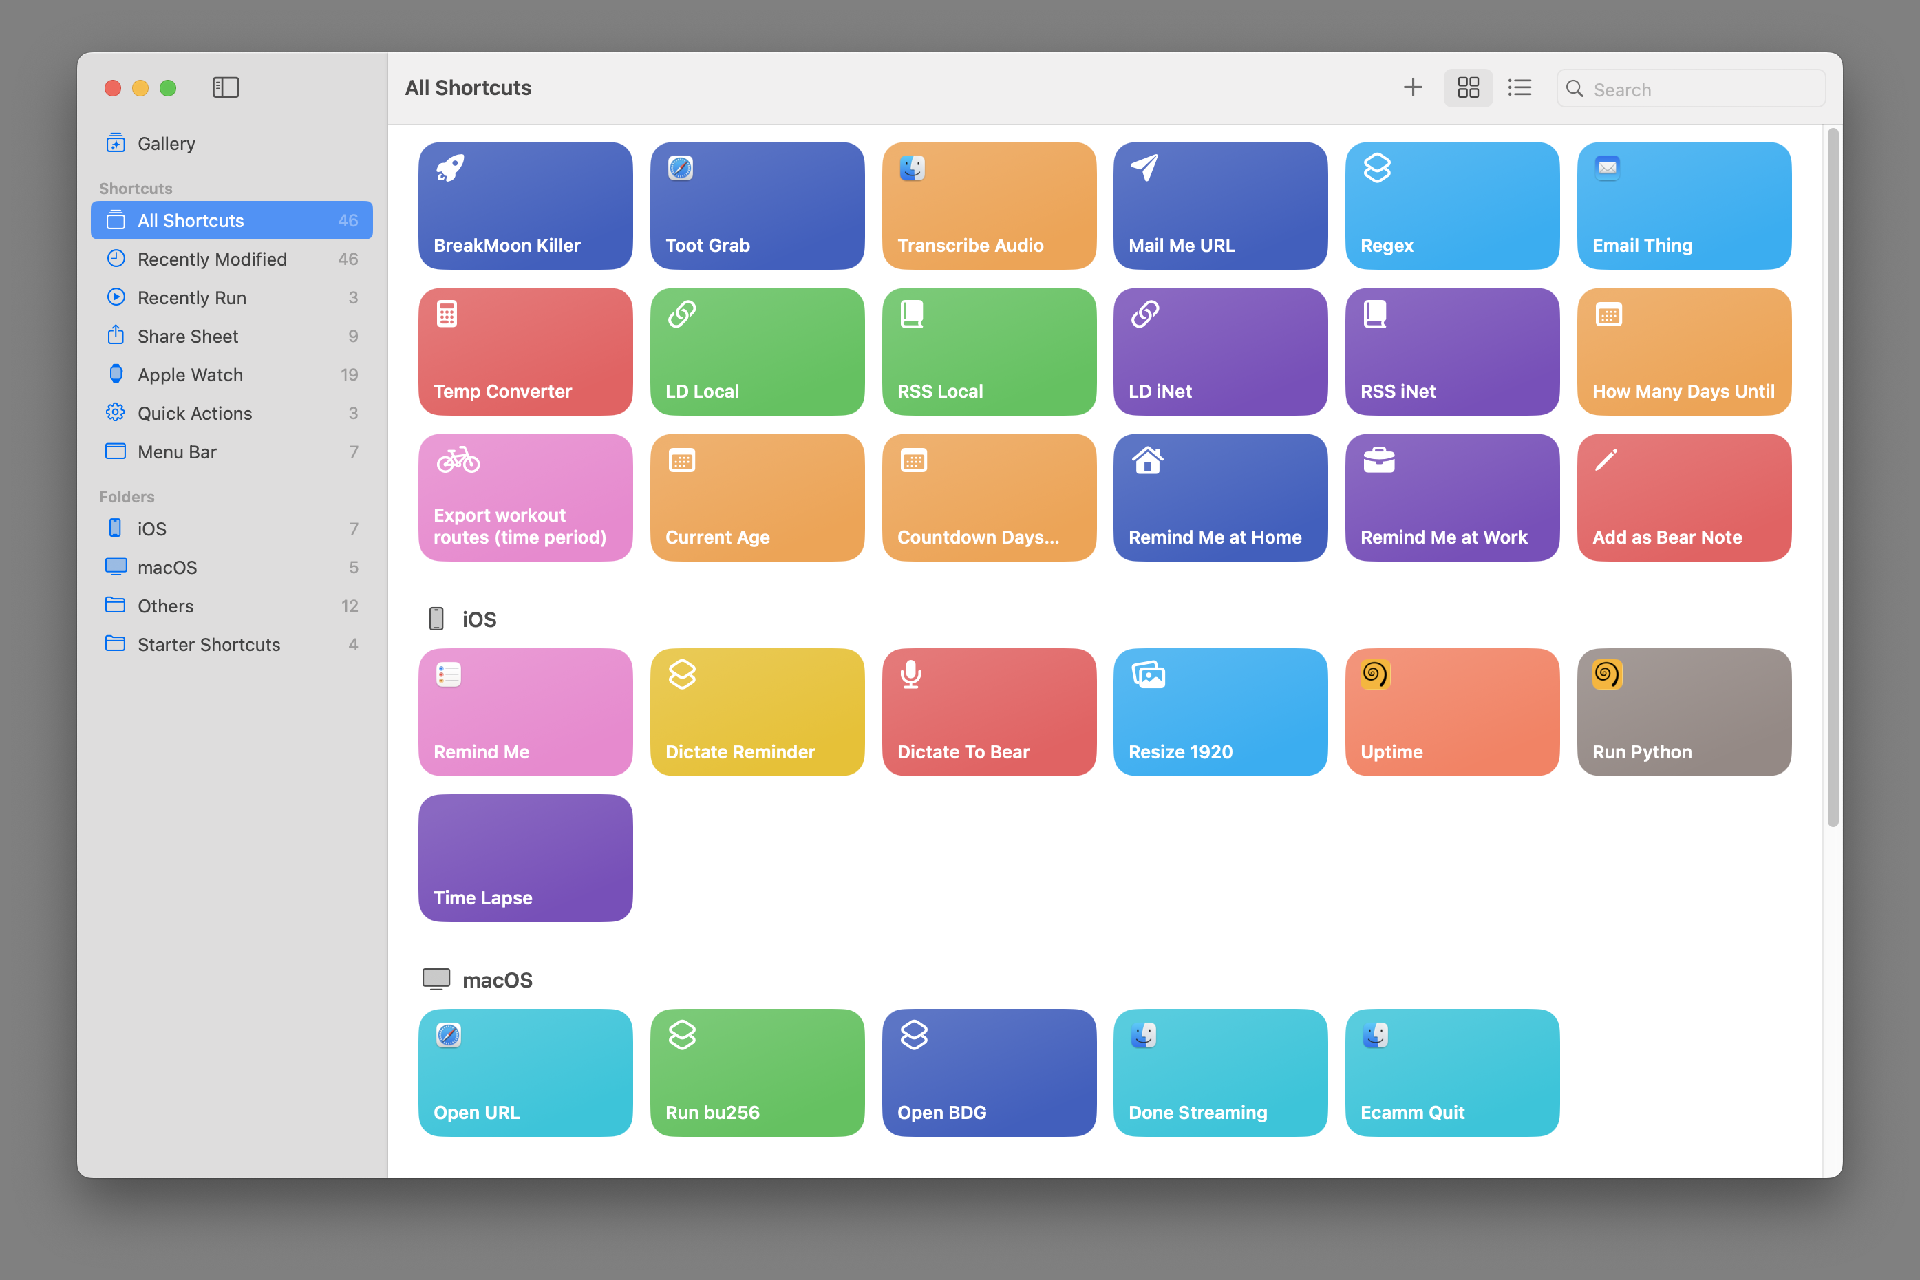
But whatever. Besides all that, I’m just going to share some silly (and maybe some useful) shortcuts with you. I’ll show you them (so you can make your own) and explain them.
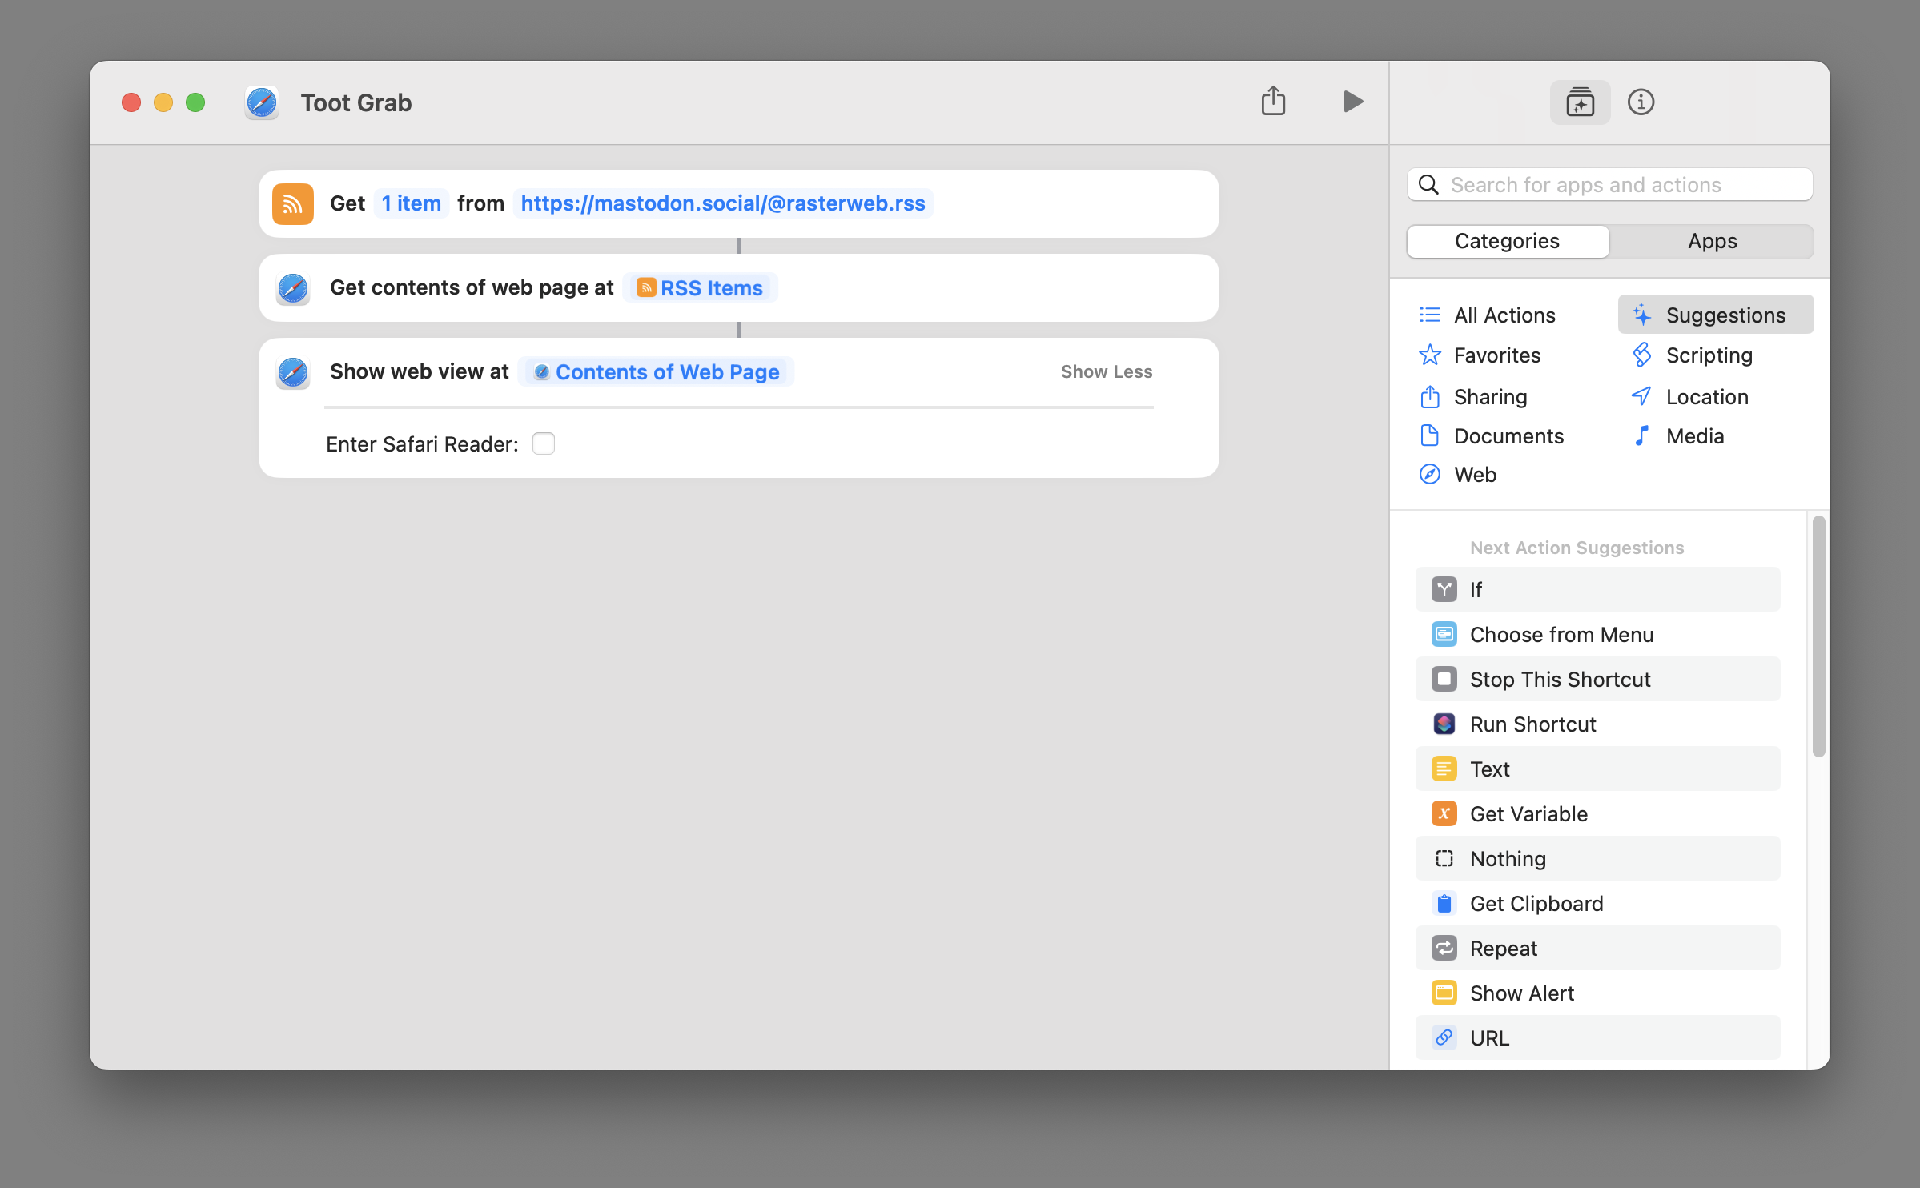
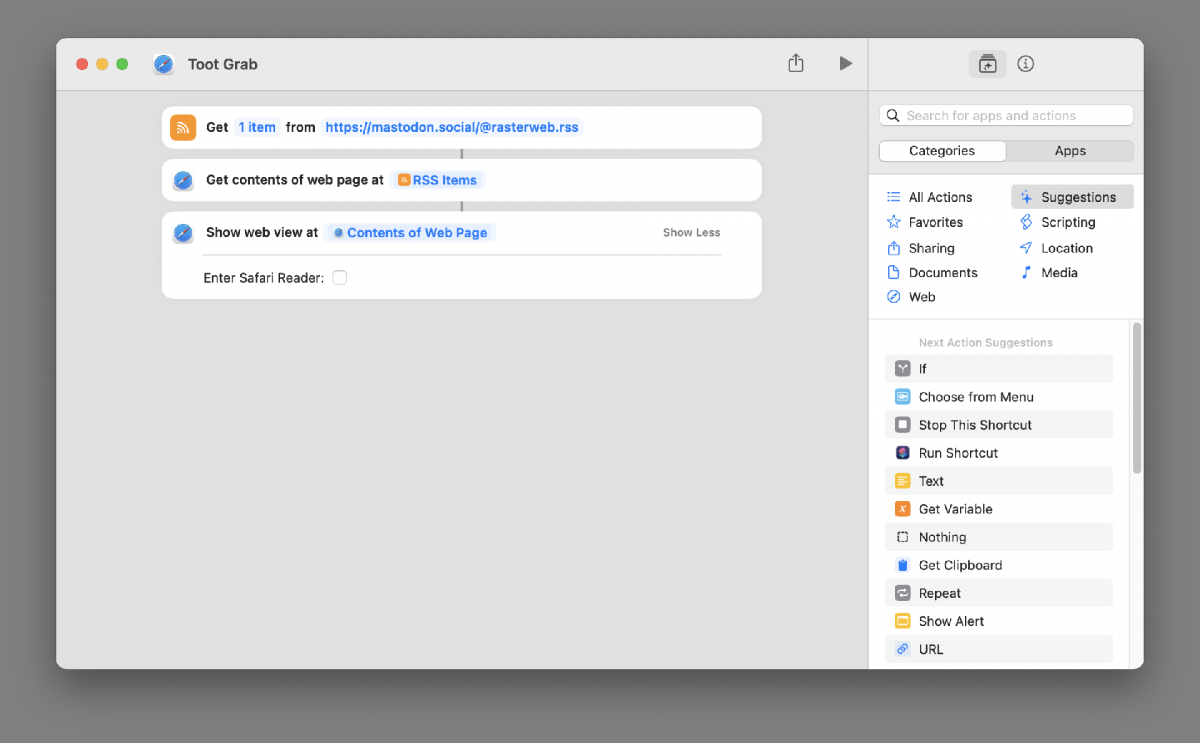
This one grabs the most recent Toot I’ve posted on Mastodon and displays it. You could change to use any RSS feed. Either another Mastodon account, or a blog you like, or any feed. (And it works on macOS, iOS, and iPadOS.)

Here’s what you see when it runs. It does run a bit slow (at least on the 2018 MBP I am typing on right now) but again, this is just a silly demo.
To make your own version you’ll need to explore Shortcuts and find the commands you need.
(And yes, I know I can share shortcuts to make them easy to install, but I’d prefer you explore it and look around and figure things out.)